This post may contain affiliate links. Please read our disclosure.
A1c testing, also known as glycated hemoglobin, hemoglobin A1c, or HbA1c, is essential for people living with diabetes.
Although it does not provide a complete picture of diabetes management, it serves as an important indicator of whether your average blood sugar (sugar) level is within a healthy range.
This time, we will show you the steps to easily and accurately measure your A1c at home.
We’ll also explain what the A1c test tells you, why it’s important, and how to understand your results.
What is an A1c test?
The A1c test, a blood test, measures your average blood sugar level over the past two to three months and is reported as a percentage. Typically, people without diabetes have an A1c of less than 5.7 percent.
This test serves as a valuable tool for diagnosing diabetes and evaluating the effectiveness of diabetes management strategies.
The ADA provides the following guidelines for using the A1c test to diagnose non-pregnant diabetes.
| A1c level | what it means |
| Less than 5.7% | usually |
| 5.7% to 6.4% | Prediabetes, a condition that puts you at high risk of developing type 2 diabetes. |
| 6.5% or more | Diagnosed with diabetes (with second result for confirmation) |
The ADA recommends that most non-pregnant diabetics aim for an A1c of 7 percent or less, which corresponds to an average blood sugar level of about 154 mg/dL (8.6 mmol/L).
See below for more information. How to convert A1c to blood sugar level.
Although some people aim for A1c levels that are close to the normal range, it is important to avoid lowering them too aggressively, which can lead to dangerous hypoglycemia (hypoglycemia).
It’s important to work with your healthcare provider to customize your A1c goals and adjust them as needed to fit your health needs and lifestyle.
Why is it important to measure A1c?
Monitoring your A1c is important because elevated blood sugar levels can lead to numerous short- and long-term diabetic complications. Keeping your A1c at a healthy level can help reduce these risks.
If your A1c level starts to exceed your goal, you can take several steps to lower it, including adjusting your medications, changing your diet, increasing your physical activity, and making other lifestyle changes as directed by your health care provider.
See below for more information. How to lower your A1c: The complete guide.
Because the A1c test provides a snapshot of average blood sugar levels over the past two to three months, we recommend that newly diagnosed people or those whose blood sugar levels are consistently above their target range measure their A1c at least quarterly.
This regular monitoring helps you track the effectiveness of your diabetes management strategy.
A1c testing at least twice a year may be recommended for people whose blood sugar levels remain stable and within target levels.
How to use the A1c home test kit
Measuring A1c at home may be beneficial for several reasons, including limited access to see a health care provider, distance to a testing laboratory, and cost of testing.
There are some great options for doing an A1c test at home, but it’s important to talk to your health care team before changing your diabetes treatment or attempting to self-diagnose.
One cost-effective option is the CVS A1C at-home test kit. This is explained in the video below. This kit gives you A1c results on the spot in just 5 minutes.
A1c Home Test Kit General Instructions
The exact steps will vary depending on the kit, but the general guidelines are:
- Prepare the test area by placing all necessary equipment in a clean, dry area.
- Make sure your hands are clean to perform the procedure. You can wash it thoroughly with soap and water and let it dry completely, or you can use an alcohol prep pad and wait until the alcohol dries.
- Use the lancet on the side of the fingertip to minimize discomfort (avoid fingertip pads, as this can increase pain), and press gently to generate a small amount of blood.
- Place the blood collector against the blood drop and allow enough blood to be absorbed according to the manufacturer’s instructions.
- Attach the filled blood sampler to a shaker device, secure it, and shake vigorously for approximately 5 to 8 seconds to mix the sample and solution.
- Open the test cartridge, insert it into the A1c analyzer, and follow the instructions to transfer the solution to the analyzer using the shaker base. Once done, remove the base.
- Allow the device to process the results. This typically takes about 5 minutes. To ensure accuracy, avoid handling the analyzer during this time.
- Record your A1c results with date.
- Properly dispose of used test cartridges and store the analyzer for future use.
To ensure accuracy, please carefully follow the instructions provided with the kit to ensure you have enough blood for the test, as insufficient samples can cause errors.
Consider reading the kit instructions to understand the steps before starting the test. Also, be sure to check the expiration date on your kit and store it according to the manufacturer’s instructions.
Are home A1c test kits accurate?
Home A1c test kits are generally considered to be as accurate as test kits performed in a lab. These kits typically provide results with an accuracy of plus or minus 0.5 percentage points. This is similar to most standard clinical tests.
To ensure accuracy, it is important to choose a kit that is NGSP certified (National Glycohemoglobin Standardization Program). This ensures that we meet the same rigorous testing standards used in professional laboratories.
Additionally, look for kits that have been cleared by the U.S. Food and Drug Administration (FDA) or have the Conformité Européenne (CE) mark.
FDA approval indicates that the product has been evaluated and recognized as safe and effective for use in the United States. The CE mark, on the other hand, indicates compliance with health and safety standards within the European Economic Area.
These certifications help ensure that products meet strict health, safety and environmental protection standards.
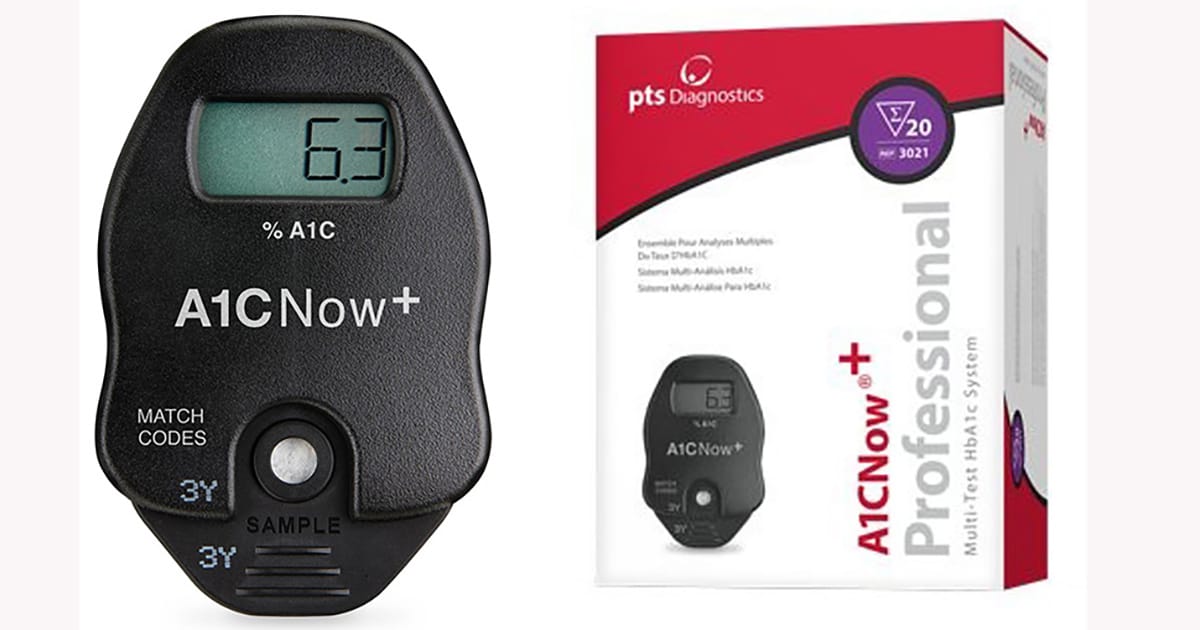
In my own experience using A1CNow SelfCheck at home, as demonstrated in the video above, the results matched perfectly with those of a lab test conducted at Quest Diagnostics just a few days earlier. At least in my case, this confirms the reliability of certified home test kits in real-world situations.
How much does the A1c test kit cost?
The CVS A1C at-home test kit costs $52.79 on Amazon as of December 2024 for a kit that includes two tests. This was the most affordable option I found, but prices for similar home A1c kits on Amazon typically range from $60 to $100. (A kit containing one test costs about $35.)
Home A1c kits are also available at major pharmacies such as CVS and Walmart.
Additionally, some kits require a blood sample to be taken and sent to a lab. These kits require more blood to be drawn (4 to 5 large drops) and, as I experienced, the wait time for results can be up to 4 weeks, depending on the speed of the mail to and from the lab.
Will it be covered by insurance?
Most health insurance plans, including private and government plans, typically cover blood tests prescribed by a doctor and performed in a laboratory.
However, coverage of home A1c test kits is less certain unless the kit is specifically prescribed by your health care provider.
To determine whether your plan covers these at-home kits, you should contact your insurance company or check your plan benefits. If covered, your insurance company may recommend a preferred brand or specify a process for obtaining the kit.
Was this article helpful? Let us know by clicking Yes or No below.